Here's a carving I did on the CNC machine for my sister Charlene's
birthday. I didn't want to post it until she got it in the mail. She
called today and said she liked it so thought I'd show it off a little.
The software and hardware combination that is used to make these is
incredible and reasonably easy to use for a beginner!
Monday, March 24, 2014
Alpaca Shearing Class
Matt did a great job with the class, an hour or two of classroom instruction to talk about the equipment and basic methods, then out to the barns to get started. Using a plywood mockup of an alpaca, our first task was to learn the "shearing dance" which is the series of steps you use as you work your way around the alpaca. It's not quite the Rocky Horror Picture Show Time Warp but when performed with music, it was a quite effective way to learn the moves and quite funny. Unfortunately (LOL), I don't have any pictures of this part of the class.
The pictures below show our 3 person team working on our first alpaca. The shearing was being done by Eric Clark and that's Charlotte Clark helping me hold the alpaca. The last picture shows Eric holding the alpaca that I had sheared and you can see the relief on Eric's face when he realized he had not fully closed the halter before the alpaca was released and we had to get some help getting him back in tow.
All in all a fun day and although I don't see myself having to shear our guys, I know now that I could borrow the equipment and in a pinch, get it done if needed. Matt will be here on April 16 to shear our 7 alpacas, let us know if you'll be in the area and want to stop in to watch (you might get volunteered to help wrangle as well).


Friday, March 21, 2014
Foster Sally
worse and died last week. She was with us for 6 months and had become a
real favorite of Donna. Sally came in to our rescue group (Northern
Virginia Sheltie Rescue) after having been hit by a car and injuring her
head and leg. She has surgery for her leg and recovered well, she was
originally thought to be about 6 or so but turned out to most likely be
closer to 12 or 13. We thought she was making real progress but must
have suffered a stroke or serious seizure overnight and then was largely
unresponsive. We buried her here on the farm and the attached picture
shows some of the markers I made to mark her spot. We decided to go with
![]() |
| CNC Plaques for Miss Sally |
These were made with the CNC router I blogged about in previous posts.
I've been asked to make a few more of these by others in memory of their
shelties so will see how that works out.
More later.
Thursday, February 13, 2014
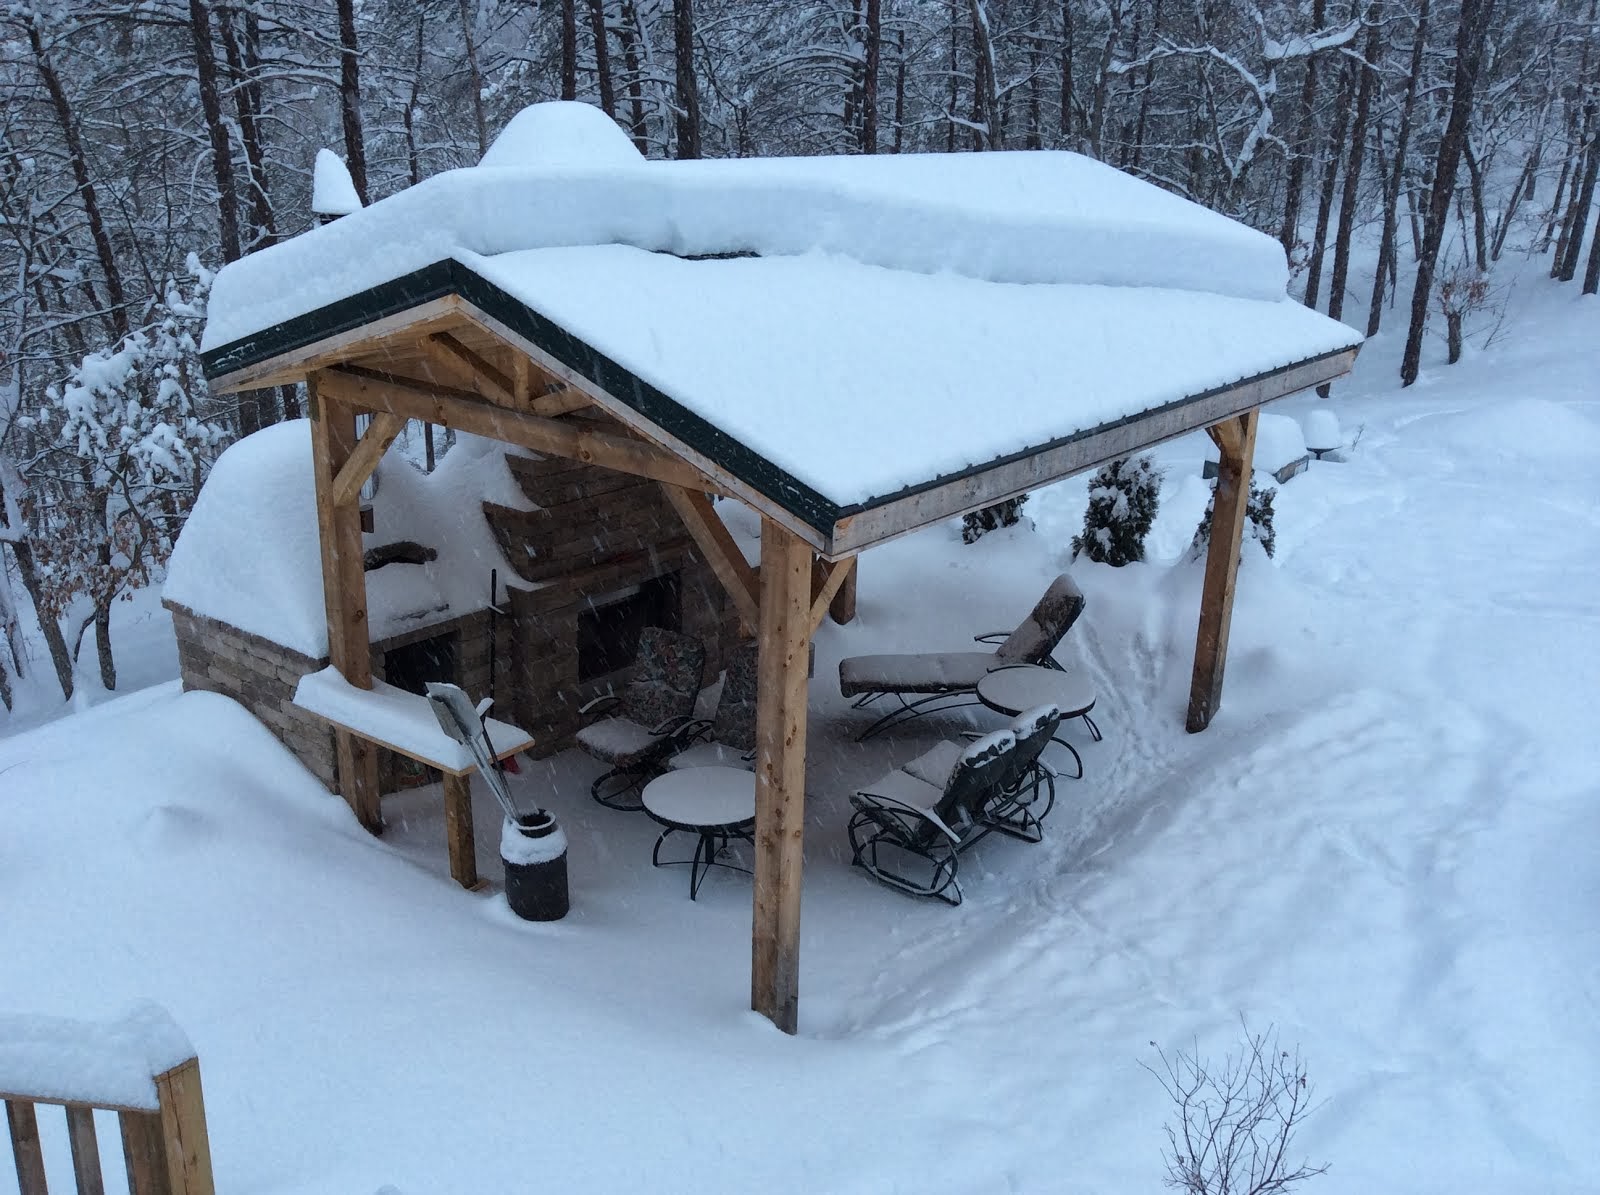
Snow!
We've had well over 15" of snow here today and it's still coming down
slowly. Won't be cooking in the pizza oven tonight. The deer have been
on the patio and I don't think many of the new plants are going to
survive as we've had snow on the ground here for the last 3 weeks and
between the deer and the rabbits, not a lot left. Oh well, it does look nice.
slowly. Won't be cooking in the pizza oven tonight. The deer have been
on the patio and I don't think many of the new plants are going to
survive as we've had snow on the ground here for the last 3 weeks and
between the deer and the rabbits, not a lot left. Oh well, it does look nice.
Shark CNC Machine Cool Cube
I've been spending some time in the workshop with the new computer
controlled router. Here are some pictures of a test project I downloaded
from the makers of the software used to create designs. It's a small,
4"x4"x4" wood cube with a design on all sides along with the top. I used
a piece of scrap wood that wasn't perfectly flat or of even thickness
but wanted to see how the process would work. It's just held together
with a rubber band clamp to give you an idea what the finished piece
might look like.
This was the first 2 sided carving that I've done. You first cut a set
of dados on the back side of the wood on what will become the inside of
the box. A dowel hole is drilled through each end of the material. When
the carving is completed, the board is turned over and dowel pins are
put through the material in to the base board so that the board is back
on the table ready to cut the other side in exactly the right position
for the outside to be carved.
Once the pieces are carved, they go together very well. The top can
either be press fit or hinged. I probably won't finish this box but was
a good learning experience. No problems with the machine, the only
issues were mistakes I made in set up or from the inconsistent material
in the board. There is a way to compensate your carving for varying
widths on your material but I didn't use that approach- might try it
next time.
Enjoy looking.
controlled router. Here are some pictures of a test project I downloaded
from the makers of the software used to create designs. It's a small,
4"x4"x4" wood cube with a design on all sides along with the top. I used
a piece of scrap wood that wasn't perfectly flat or of even thickness
but wanted to see how the process would work. It's just held together
with a rubber band clamp to give you an idea what the finished piece
might look like.
This was the first 2 sided carving that I've done. You first cut a set
of dados on the back side of the wood on what will become the inside of
the box. A dowel hole is drilled through each end of the material. When
the carving is completed, the board is turned over and dowel pins are
put through the material in to the base board so that the board is back
on the table ready to cut the other side in exactly the right position
for the outside to be carved.
Once the pieces are carved, they go together very well. The top can
either be press fit or hinged. I probably won't finish this box but was
a good learning experience. No problems with the machine, the only
issues were mistakes I made in set up or from the inconsistent material
in the board. There is a way to compensate your carving for varying
widths on your material but I didn't use that approach- might try it
next time.
Enjoy looking.
Saturday, February 1, 2014
Shark Projects
signs and cutting them out to take a first look on some pine we had left
over from siding the guest cabin. First pictures was made using an
imported line drawing of an alpaca to the CarvePro software, then adding
text and distributing it along an arc to make the curved lines of text.
Not bad for a first try- can see there will be some real time needed
with software. Once the design is completed in the CarvePro software,
the file is saved to a format that can be read in by the Shark CNC
controller, all controlled by a laptop computer connected with a USB
cable. The software for the controller is produced by NextWave
Automation, the actual makes of the Shark. I covered the board with
self adhesive shelf paper before I did the cutting, then painted over it with
black spray paint. This left only the carved areas with the black paint to
increase the contrast- I liked it.
![]() | |
| Spray painted carving |
Good news is that there are a lot of video tutorials online from
Vectric, the company that makes the software. At least 15 hours worth from the first look and there are a couple of online forums as well that support the software. I've found quite a few free online projects as
well that should be fun.
The remaining pictures show a sign I made from a photo that I imported
to the software from a flag that celebrated the 250th anniversary for
the town of Romney. From the bitmap of the picture, the software
produces line vectors that are then used to carve the image. Only took
about 15 minutes to get it ready to run and would have been about 5 if
I'd known what I was doing. I had watched a tutorial on importing an
image and it really helped. The pictures show the sign as it was being
carved- it took about 5 minutes for the router to produce the text above
and below the emblem, then about 30 minutes to carve the actual emblem.
It was really useful to do this on a scrap of wood as I'll now be able
to make some changes to improve the look- I don't like the foreground of
the emblem which was supposed to have had some detailed but ended up
![]() |
| Text completed, carving started on emblem |
to use on the router, this limited my work as well- I have two more bits
on order that will arrive next week.
![]() |
| Emblem almost done |
After I get the emblem design completed, I plan to paint
the board a green color to match the original flag, then use the shelf paper before carving so I can paint the cutouts white.
Hope you enjoy the work, will keep posting as I learn more. I'm hoping
![]() |
| Completed sign |
parts are formed completely on the CNC router and then glued together.
The first ones I plan to do are a free download from the maker of the
software, Vectric.
CNC Router
can be used to make signs, plaques, boxes, and all kinds of other
projects. There will be quite a learning curve but should be fun.
This a CNC Shark Black Diamond system made by NextWave Automations. Here
are some pictures as I was getting it set up and a couple more as I cut the first sign to try it out. Will post more as I figure it all out, enjoy. Once the computer design was completed, it took about 3 minutes for the router to cut the "Hidden Bend Retreat" sign out of a piece of oak (flooring left over from the guest cabin build).
Subscribe to:
Posts (Atom)